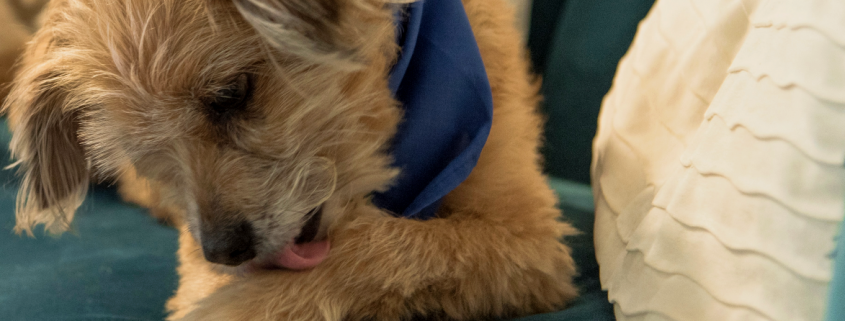
Unveiling the Mystery Behind Paw Licking
I often caught my dog incessantly licking his paws. After a while, I began to wonder what was…

I often caught my dog incessantly licking his paws. After a while, I began to wonder what was…
As everyone is going back into the office or back to school, our dogs will soon be home alone and left to…

Your pet’s dental health is an important piece of their overall health and wellness. Oral disease can be caused…
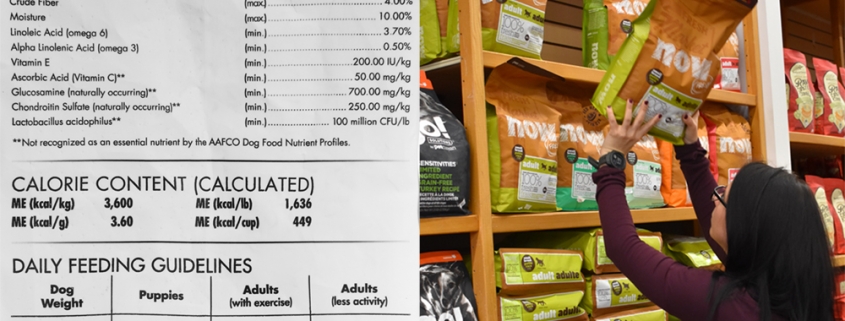
Ever wonder how to help determine what food is best for your pets? Packaging and marketing can make it difficult to make choices. Did you ever wish for a guide to help you evaluate the quality and nutrition of products available? Good news! We did just that. Read on…
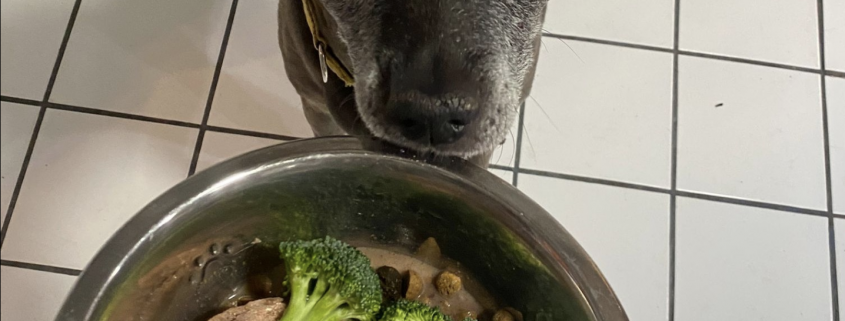
Varying your pet’s diet – also known as “rotational feeding” – not only keeps your pet from becoming bored with his food but also may have significant health benefits. Believe it or not, many processed foods like kibble or canned foods may not actually be 100% complete and balanced – even if the packaging says it is.
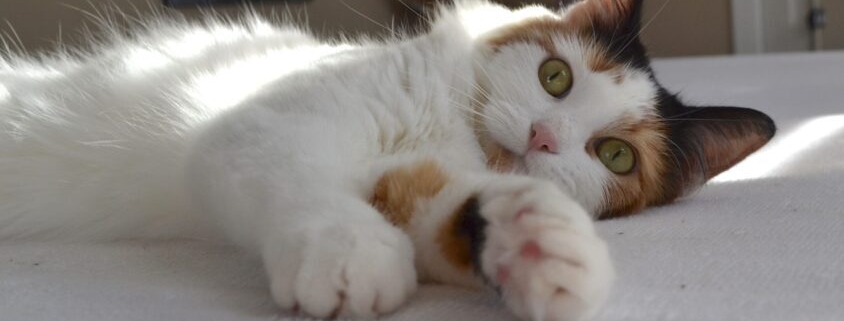
Getting a new pet is an exciting milestone for everyone! You’re probably wondering what you can do to make the transition easy and stress-free for you and your new cat. Making a few minor adjustments can go a long way and make the whole transition easier for everyone!
1. Give your new cat or kitten enough time to decompress. Most cats prefer time to themselves to become comfortable with the sights, smells, and noises associated with their new home. This can take weeks or a couple months depending on the cat’s age and background. Let them warm up to you to build their trust and bond. Overcrowding or forcing your new cat to be held can create a skittish cat.
2. Be aware of their diet. Most cats will come on a diet they are already used to eating, and we don’t recommend switching it right away (even though you might want to). Your new cat has already been through plenty of significant changes, and the last thing they need is unnecessary stress from a diet change. Once your cat becomes comfortable, we recommend offering a few healthy options to see what they prefer before switching the diet.
3. Setting up their area. While setting up your cat’s necessities, make sure to keep food and water away from the litter box. Cats are clean by nature and appreciate a clean feeding area.
4. Meeting other furry family members. If you have other cats in the home, it is best to keep the new kitty in a quiet, safe place for several days to a couple of weeks for both cats to get used to hearing and smelling one other. Once any hissing and growling have decreased, you can feed them on each side of a closed door. Sharing a meal among any species can be a bonding experience that will encourage positive behavior. You may have to repeat this step for several days to a few weeks.
5. Play and Exercise. Once your cat is comfortable in its new home, play and exercise are essential for a healthy and productive lifestyle that can prevent bad behavior from developing. You can provide your cat with a toy that dispenses treats or toys as your cat chases and plays. Several options on the market will provide your cat with the satisfaction of the hunt and catch. Try these out after extensive play when your cat is hungry for stimulating them mentally and physically, which results in a well-exercised and tired kitty!
6. Understand their natural routine. Cats are most active from about 3 AM to 5 AM. Early morning is the best time to hunt, and if your cat were outside, they would be hunting small animals such as mice, chipmunks, birds, and even bugs! However, since most cats are indoor cats, or at least inside at night, their prey drive is directed to toys and small objects. Cats are intelligent animals, and if you let them know that their antics get you up, they will keep making a game out of it. When a cat is new to your home and begins this behavior, it is best to ignore or do your best to prevent the situation. Most owners appease their cats by offering a snack or breakfast during these early morning hours, which only solidifies the thrill and catch of the hunt! For more tips to engage your kitty, click here.
Dear NPP,
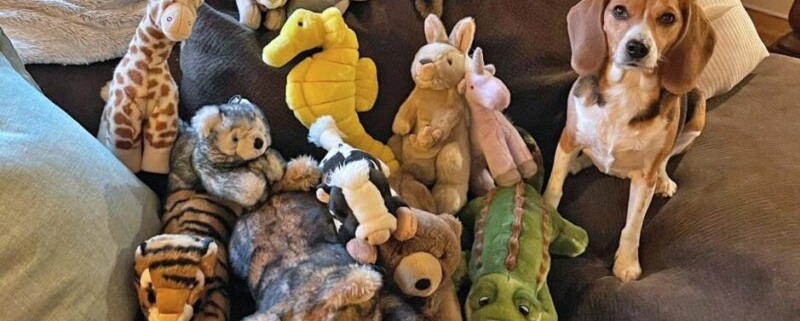
I love spoiling my dog with new toys. I bring home new ones for him all the time but he gets bored of them so quickly. Nothing really holds his interest for longer than a couple of days. What can I do to keep his interest?
Sincerely,
Drowning in Dog Toys
Giving toys to your dog is a great way to encourage play, enhance mental stimulation, and increase bonding. However, like with everything good in life, moderation is key.
Pro Tip: When exchanging toy collections, inspect them for damage that may be hazardous to your dog. If the toy can easily become a choking hazard, discard the toy immediately.
This is also the perfect time to give those toys a good cleaning! Some rubber and plastic toys are dishwasher safe, but most can safely be cleaned with mild dish soap and warm water. Most plush toys are machine washable.
Having a huge assortment of toys can actually have an adverse effect on your dog. He can easily become overwhelmed and overstimulated, resulting in a lack of excitement around playtime. By removing the “old” toys and replacing them with some that he hasn’t seen in a few weeks, you’re refreshing his play drive with a brand-new variety for him to engage with.
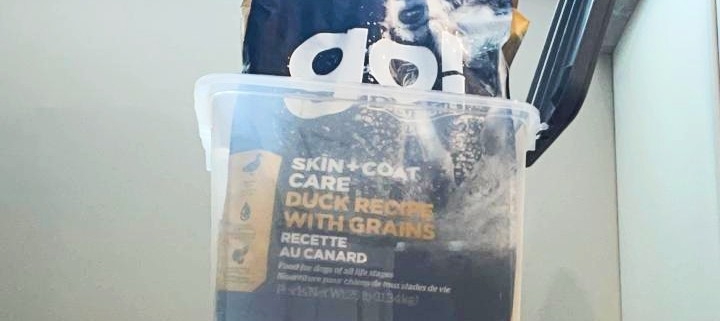
Feeding your pet dry food is convenient. You don’t have to worry about any special handling requirements or finding extra space in your refrigerator or freezer. However, that convenience can come with a price that can harm your pet.
1) Keep your pet food in the original package.
Pet food bags are designed to keep the food as fresh as possible. After opening, fold over the top of the bag to press as much air out as possible. If you’d like to use a storage container, put the whole bag inside the container, but do not dump the kibble out of the bag.
Why?
Dry pet food formulations include necessary animal fats, which start to go rancid once exposed to oxygen (right after manufacturing, even inside the sealed bag). These fats coat the inside of storage containers and continue to oxidize over time and interact with compounds of the storage container itself (metal, plastic, etc.), which then contaminates the fresh kibble you just poured in. In fact, improper storage of kibble is a large reason for food-related illness in pets.
2) Keep your pet food in a cool, dry place.
To prolong freshness and maximize nutritional value, keep your pet food in the same places that you store your own food: away from sunlight, heat, and moisture.
Why?
Moisture and food can be a fatal combination. Humid and warm areas create a perfect environment for mold and harmful bacteria to thrive. The worst of these bacteria, called aflatoxins, can cause severe liver damage and even lead to life-threatening emergencies. Learn more about how to properly store your pet’s dry food here.
3) Purchase a bag of food that will last your pet for roughly one month.
For optimal nutrition, freshness and palatability, we recommend buying the smallest bag of food that is appropriate for your pet – about 30 days’ worth. A small bag (4 – 5 lbs) is appropriate for a small dog, and a large bag (20+ lbs) for a large dog.
Why?
When pet food is stored for a long period of time, opened or not, the risk of rancid fats, mycotoxin contamination, pathogenic bacteria, and storage mites are significant risk factors. We often hear pet parents state that their pet gets bored by the end of the bag, but if that bag is 2+ months old, it’s likely that your pet can smell that the food has spoiled. In fact, one of the largest reasons pets turn their nose up to food midway through the bag is because it has turned rancid. Here are more considerations for bulk buying pet food.
Our team is always happy to discuss these topics on an individual basis. If you have questions regarding the storage of your pet’s food, please see one of our pet nutrition experts in-store.

Have you heard of “Golden Paste”? It’s a healthy and easily digestible paste made from turmeric that can help reduce inflammation, and skin irritations, and improve gut health in dogs and humans alike.
Best of all, Golden Paste takes only minutes to make with ingredients most of us already have in our kitchens.
Golden Paste is typically made with a combination of ground or fresh turmeric, coconut oil, and black pepper.
Turmeric, an herb belonging to the ginger family, contains several compounds, collectively known as curcuminoids. The most well-known is curcumin, which gives turmeric its orange color. Curcuminoids are known to possess antioxidant, anti-inflammatory, and possible anti-cancer effects.
Adding a small amount (½-1 tbsp) of Golden Paste to your pet’s bowl at meal time can aid in:
Like any new food or supplement, we recommend gradually introducing Golden Paste into your pet’s diet. Turmeric has a very potent taste, and sometimes dogs will not want anything to do with it. Therefore, it is important to slowly introduce the new flavors to their palate. Once a dog has become accustomed to the paste, the recommended dosage is:
Turmeric paste can have some minor side effects and it is important to monitor your pet for any negative reactions.. If improperly dosed, dogs may experience gastrointestinal distress. If you notice your dog is showing any negative symptoms —like loose stool or diarrhea— decrease the dose and follow up with your veterinarian.
If you think your dog’s health may benefit from Golden Paste, give this easy recipe a try! Even though your dog won’t experience instant results, you should see some positive changes in a few weeks!
Reference:
Pet Parents are spending a great deal of time and money to ensure they are serving the healthiest foods to their pets. However, when it comes time to select a bowl or feeder, most Pet Parents report that they choose the cheapest bowl or one that matches the décor of their home. However, did you ever consider if your pet’s food bowl is actually safe? Have you checked to see where your food bowl was manufactured or what materials it is made of? Can you trust the labels on the package that sometimes provide this information? Think about it…these food bowls are in constant contact with your dog’s mouth and tongue multiple times each day.
Let’s start out with the country where your pet’s food bowl is being manufactured. Why should this matter? Because you want to be sure that it is in a country that follows “GMP” or Good Manufacturing Processes. The most important assurance of GMP is to provide quality control and safety. Simply put, the manufacturing people are properly trained; working in a properly cared for facility; following a standardized process; producing consistent products, and guided by procedures that guarantee quality and safety. Pet products made in the United States are most likely to be manufactured within these guidelines whereas those manufactured in China are least likely. Pet Parents should especially be concerned about pet bowls, feeders, and lick mats made in China because there are no guarantees that the materials or manufacturing process are safe and free of harmful toxins. Of course, it is more expensive to manufacture under GMP because of the additional time and cost involved in the manufacturing process.
So, the next time you are purchasing a pet food bowl or feeder, invest the same time and money you would in choosing their food. It is the one item in the household that your pet interacts with multiple times each day. And now you can rest assured that you are truly serving them a safe and healthy meal.About the Author: Carol Smeja, Ph.D
Carol Smeja’s career has focused in the area of psychology and sociology which led to her earning a Ph.D. She applied these roots in understanding the psychological and social dynamics of eating while working in marketing/research with the U.S. and global food companies and improving health & diet with U.S. government agencies. More recently, she has applied her extensive research and diagnostic training in understanding the eating behaviors of our dogs & cats by studying the natural and instinctive behaviors of their ancestral roots. She has conducted comprehensive ancestral reviews and integrated information from wildlife specialists and professional research/observational programs. She volunteers at zoos to continue to gain knowledge on our pet’s dietary needs and feeding habits in addition to improving conservation efforts. Lecturing at both professional events and pet organizations, Carol seeks to educate Pet Parents on the importance of how you feed your pet to improve their health & wellbeing. She is also the co-creator of the Original Mine Pet Platter. Made with an innovative and sustainable material naturally sourced from plant life that is safe and non-toxic. 100% designed, sourced, and manufactured in the USA, the mine Pet Platter is food and dishwasher-safe, BPA-free, eco-friendly and recyclable. The Mine Pet Platter is safe for pets and the planet.
So, the next time you are purchasing a pet food bowl or feeder, invest the same time and money you would in choosing their food. It is the one item in the household that your pet interacts with multiple times each day. And now you can rest assured that you are truly serving them a safe and healthy meal.
About the Author: Carol Smeja, Ph.D
Carol Smeja’s career has focused in the area of psychology and sociology which led to her earning a Ph.D. She applied these roots in understanding the psychological and social dynamics of eating while working in marketing/research with the U.S. and global food companies and improving health & diet with U.S. government agencies. More recently, she has applied her extensive research and diagnostic training in understanding the eating behaviors of our dogs & cats by studying the natural and instinctive behaviors of their ancestral roots. She has conducted comprehensive ancestral reviews and integrated information from wildlife specialists and professional research/observational programs. She volunteers at zoos to continue to gain knowledge on our pet’s dietary needs and feeding habits in addition to improving conservation efforts. Lecturing at both professional events and pet organizations, Carol seeks to educate Pet Parents on the importance of how you feed your pet to improve their health & wellbeing. She is also the co-creator of the Original Mine Pet Platter. Made with an innovative and sustainable material naturally sourced from plant life that is safe and non-toxic. 100% designed, sourced, and manufactured in the USA, the mine Pet Platter is food and dishwasher-safe, BPA-free, eco-friendly and recyclable. The Mine Pet Platter is safe for pets and the planet.
The reason we should care about the food bowl we choose for our pets is the dramatic incident of cancer. I want to be forthright in saying there is no mandatory reporting to a universal database that allows the scientific tracking of this disease. However, the Animal Cancer Foundation has recently provided estimates that roughly 6 million new cancer diagnoses are made in both dogs and cats each year in the United States (out of a 65 million dog and 32 million cat population).
Always check labels and ask questions
What can Pet Parents do to check on the quality and safety of their pet’s feeding devices? First, check the label to see the country where it is made, where the material was sourced and the type of material used. Beware of products that do not state where it is manufactured as well as those that say ‘globally sourced materials’—there is no way to ascertain if it is a safe or reliable feeder. Also, if it says, “Designed and tested in the U.S.”, dig deeper to find out where it was manufactured and where the materials were sourced—this statement has nothing to do with the quality or safety of the feeder. Also, as a last resort, contact the manufacturer and ask them to provide this information! You have the right as a Pet Parent to work around the ‘disinformation’ to ensure the health and wellbeing of your pet.
So, the next time you are purchasing a pet food bowl or feeder, invest the same time and money you would in choosing their food. It is the one item in the household that your pet interacts with multiple times each day. And now you can rest assured that you are truly serving them a safe and healthy meal.
About the Author: Carol Smeja, Ph.D
Carol Smeja’s career has focused in the area of psychology and sociology which led to her earning a Ph.D. She applied these roots in understanding the psychological and social dynamics of eating while working in marketing/research with the U.S. and global food companies and improving health & diet with U.S. government agencies. More recently, she has applied her extensive research and diagnostic training in understanding the eating behaviors of our dogs & cats by studying the natural and instinctive behaviors of their ancestral roots. She has conducted comprehensive ancestral reviews and integrated information from wildlife specialists and professional research/observational programs. She volunteers at zoos to continue to gain knowledge on our pet’s dietary needs and feeding habits in addition to improving conservation efforts. Lecturing at both professional events and pet organizations, Carol seeks to educate Pet Parents on the importance of how you feed your pet to improve their health & wellbeing. She is also the co-creator of the Original Mine Pet Platter. Made with an innovative and sustainable material naturally sourced from plant life that is safe and non-toxic. 100% designed, sourced, and manufactured in the USA, the mine Pet Platter is food and dishwasher-safe, BPA-free, eco-friendly and recyclable. The Mine Pet Platter is safe for pets and the planet.
It is worth noting that just because a food bowl is manufactured in the U.S., it doesn’t mean that the materials were also sourced in the U.S. The cost of quality materials can compel manufacturers to find cheaper materials sourced from other countries and have them imported. So, you have to look at both where your pet’s food bowl is manufactured as well as where the material is sourced from.
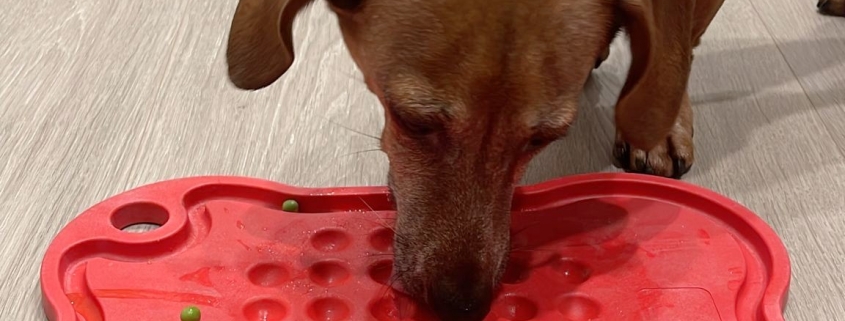
The next factor to consider is the material of your pet’s food bowl. Typically, pet food bowls and feeders are made of either stainless steel, plastic or silicone but not all of these materials are created equal. Let’s consider each of them:
The reason we should care about the food bowl we choose for our pets is the dramatic incident of cancer. I want to be forthright in saying there is no mandatory reporting to a universal database that allows the scientific tracking of this disease. However, the Animal Cancer Foundation has recently provided estimates that roughly 6 million new cancer diagnoses are made in both dogs and cats each year in the United States (out of a 65 million dog and 32 million cat population).
What can Pet Parents do to check on the quality and safety of their pet’s feeding devices? First, check the label to see the country where it is made, where the material was sourced and the type of material used. Beware of products that do not state where it is manufactured as well as those that say ‘globally sourced materials’—there is no way to ascertain if it is a safe or reliable feeder. Also, if it says, “Designed and tested in the U.S.”, dig deeper to find out where it was manufactured and where the materials were sourced—this statement has nothing to do with the quality or safety of the feeder. Also, as a last resort, contact the manufacturer and ask them to provide this information! You have the right as a Pet Parent to work around the ‘disinformation’ to ensure the health and wellbeing of your pet.
So, the next time you are purchasing a pet food bowl or feeder, invest the same time and money you would in choosing their food. It is the one item in the household that your pet interacts with multiple times each day. And now you can rest assured that you are truly serving them a safe and healthy meal.
About the Author: Carol Smeja, Ph.D
Carol Smeja’s career has focused in the area of psychology and sociology which led to her earning a Ph.D. She applied these roots in understanding the psychological and social dynamics of eating while working in marketing/research with the U.S. and global food companies and improving health & diet with U.S. government agencies. More recently, she has applied her extensive research and diagnostic training in understanding the eating behaviors of our dogs & cats by studying the natural and instinctive behaviors of their ancestral roots. She has conducted comprehensive ancestral reviews and integrated information from wildlife specialists and professional research/observational programs. She volunteers at zoos to continue to gain knowledge on our pet’s dietary needs and feeding habits in addition to improving conservation efforts. Lecturing at both professional events and pet organizations, Carol seeks to educate Pet Parents on the importance of how you feed your pet to improve their health & wellbeing. She is also the co-creator of the Original Mine Pet Platter. Made with an innovative and sustainable material naturally sourced from plant life that is safe and non-toxic. 100% designed, sourced, and manufactured in the USA, the mine Pet Platter is food and dishwasher-safe, BPA-free, eco-friendly and recyclable. The Mine Pet Platter is safe for pets and the planet.
")
DIY Dog Wash closes one hour prior to store close.
Newsletter Sign-Up
Subscribe to get weekly tips, seasonal advice, and be the first to know about events, new products, sales, and more.
